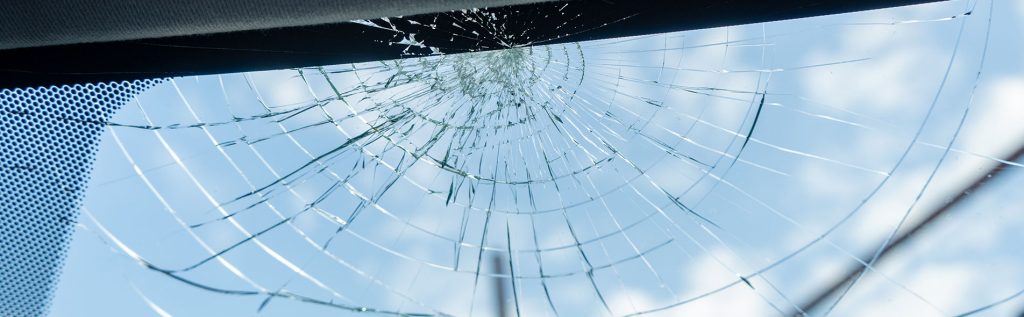
One of the unfortunate road hazards one can face while driving is getting hit by a pebble or small stone onto your windscreen.
Though it is common sense to keep one’s distance from construction trucks or similar situations, there are just some instances that cannot be avoided.
While moderns windscreens are robust and shatter resistant, there are things you can do to prevent further damage should you have a small windscreen chip or crack.
You can purchase windscreen repair kit from most hardware stores or car accessory shops. Do note, if you have any damage bigger than 6mm, then it is best to get professional help.
Here is an easy step-by-step guide on how to repair your damaged windscreen with a DIY kit easily purchased online.
Many other brands have essentially the same components, so we will use this as a guide.
Step 1 – Preparing the Damaged Area
Use a clean lint-free cloth to clean the affected area with soap and water.
Follow through by cleaning the same area with alcohol or Rain-X would work the same and let dry.
(Helpful tip: For better visibility, stick a piece of paper behind the affected area with some tape or blue tack).
Step 2 – Installing the Mold Seal Ring
Stick the ring seal provided (featured in the image here in red) with the tab facing upwards.
Ensure that the damaged area is in the middle of the ring. Press firmly around the ring to ensure that it the seal is stuck on securely with no air bubbles.
Peel off the red backing on the ring seal and stick on the grey mold. Again, press down firmly so that it is securely installed.
Step 3 – Applying the Resin
Cut the tip of the resin tube nozzle and place the resin into the mould after inserting the resin tube’s nozzle into the opening in the mold.
Remember to leave about 20% over for the final step and cap the resin tube so it does not dry out.
Insert the provided syringe in a ‘pressed-down’ position or where the syringe is shortest.
Ensure that it is tightly inserted, then pull up and lock it in place at the provided notch on the syringe.
This process is meant to create a vacuum to remove air bubbles from the resin that is curing. Let it sit for 10 minutes
Step 4: Completing
The Curing Process Remove the syringe from the mold. Insert the syringe back into the mold again but now with the syringe fully extended.
Again, ensure that the syringe sits tightly into the mold, then press down the syringe and lock it down into place.
This step is to apply pressure on the resin so that it adheres firmly on the glass and at the same time to press out any air bubbles.
Let it sit for 20 minutes.
Step 5: Removing the Mold
Use the blade provided to remove the mold from the glass, starting from the outer edges.
Carefully remove the mold and wipe off any excess resin.
Step 6: Finishing Touches
Once the mould is completely removed, apply some resin over the affected area and place the provided transparent plastic film over it.
Use the blade again to press out all air bubbles that have formed and let it sit for 15 minutes under the sun or at least an hour if cloudy.
The UV rays from the sun helps to cure the resin. Then, use the blade to remove the plastic film and excess resin.
Other than fixing these tiny cracks when they happen, prevention is definitely better than the hassle of these cures.
This is especially true to those who travel often on sandy or pebbly roads.
Pay a little more to have a protective film applied to your windscreen. It acts as a “net” in case your windscreen does get damaged, the glass will be held together and “caught” by the film.
Tempered glass screens are a must-have, but that doesn’t mean it won’t shatter.
When all else fails, make sure you have covered your windscreen in your yearly insurance renewal for your car!
Caution, not all cracks are equal.
If the damaged area on your windscreen is larger than 6mm or if there is a puncture where air or water can pass through the glass, it is imperative you see a professional about a proper fix or replacement!